|

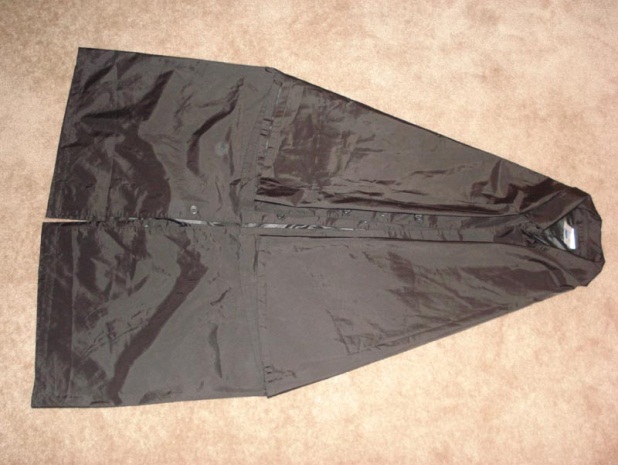
1.
Begin with the
cape lying flat on the back with collar toward your right.
You will want to neatly spread the cape fully flat and make
sure from here on that you make your folds as crisp as
possible to reduce that 'slept in' look that we are trying
to avoid in the first place.

3.
Next fold the
outer edges of the cape (where your arms would go) across
the front of the cape to align parallel with the centerline.
Again, attempt to make sure that every layer of cape is
smooth after it is folded. You may find that the smoothest
fold here lines up a bit off of the centerline.
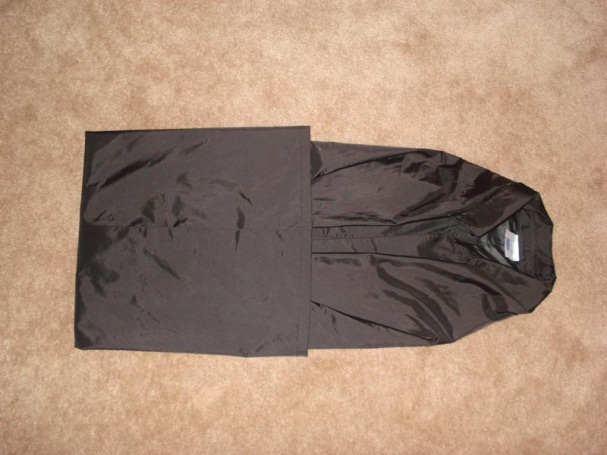
5.
Next fold the
upper 1/3 of the cape to your left over the rest. Make sure
the collar is lying flat now or it won't be the next time
you wear it.
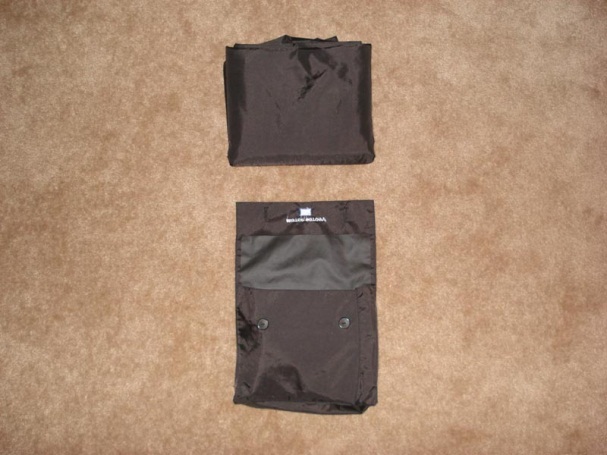
7.
Finally fold the remaining
rectangle up in half to make another square. |
2.
Square up the shoulders by
sliding a hand inside the cape and smoothing out the
shoulder until the front and back material in that area lies
flat against each other. Then make sure you align both the
inner (long) and outer (short) edges of the cape (where the
buttons and holes are) along the centerline of the back.
4.
The lower part of the inner
cape is now folded in to align with the center. At this
point you should have something akin to a long rectangle.
The lower 1/3 of the cape is now folded to your right over
the upper part.
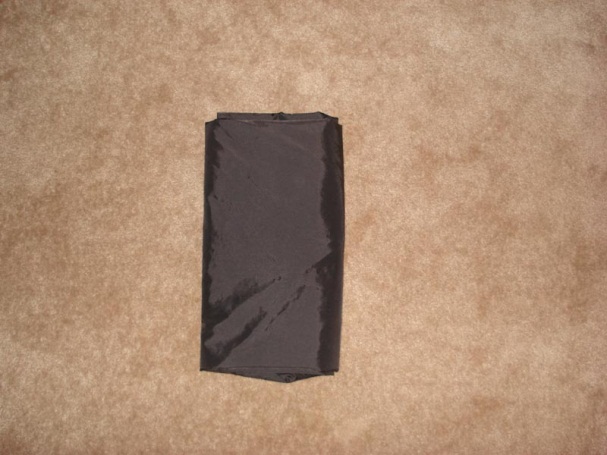
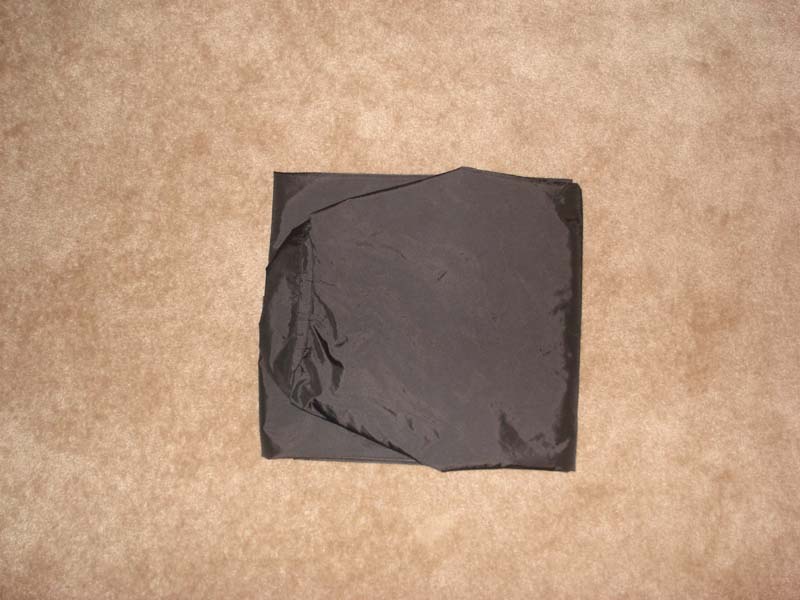
6.
Now fold the remaining square
in half in the same direction you made the last fold.
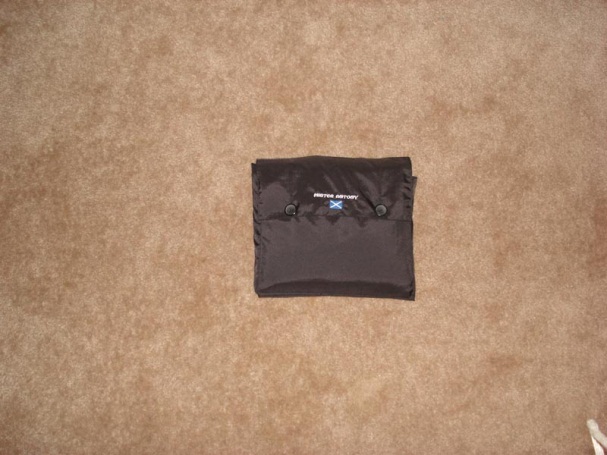
8.
The cape is then neatly stored
in the pouch. |
